Gift-giving is a universal way to show affection and appreciation. But let’s face it, wrapping a present can sometimes feel like trying to solve a Rubik’s cube. Fear not, my fellow craft enthusiasts! This guide will walk you through the process of wrapping a present like a pro. With a little patience, practice and creativity, you’ll be wrapping gifts that look too good to open!
Step 1: Gather Your Materials
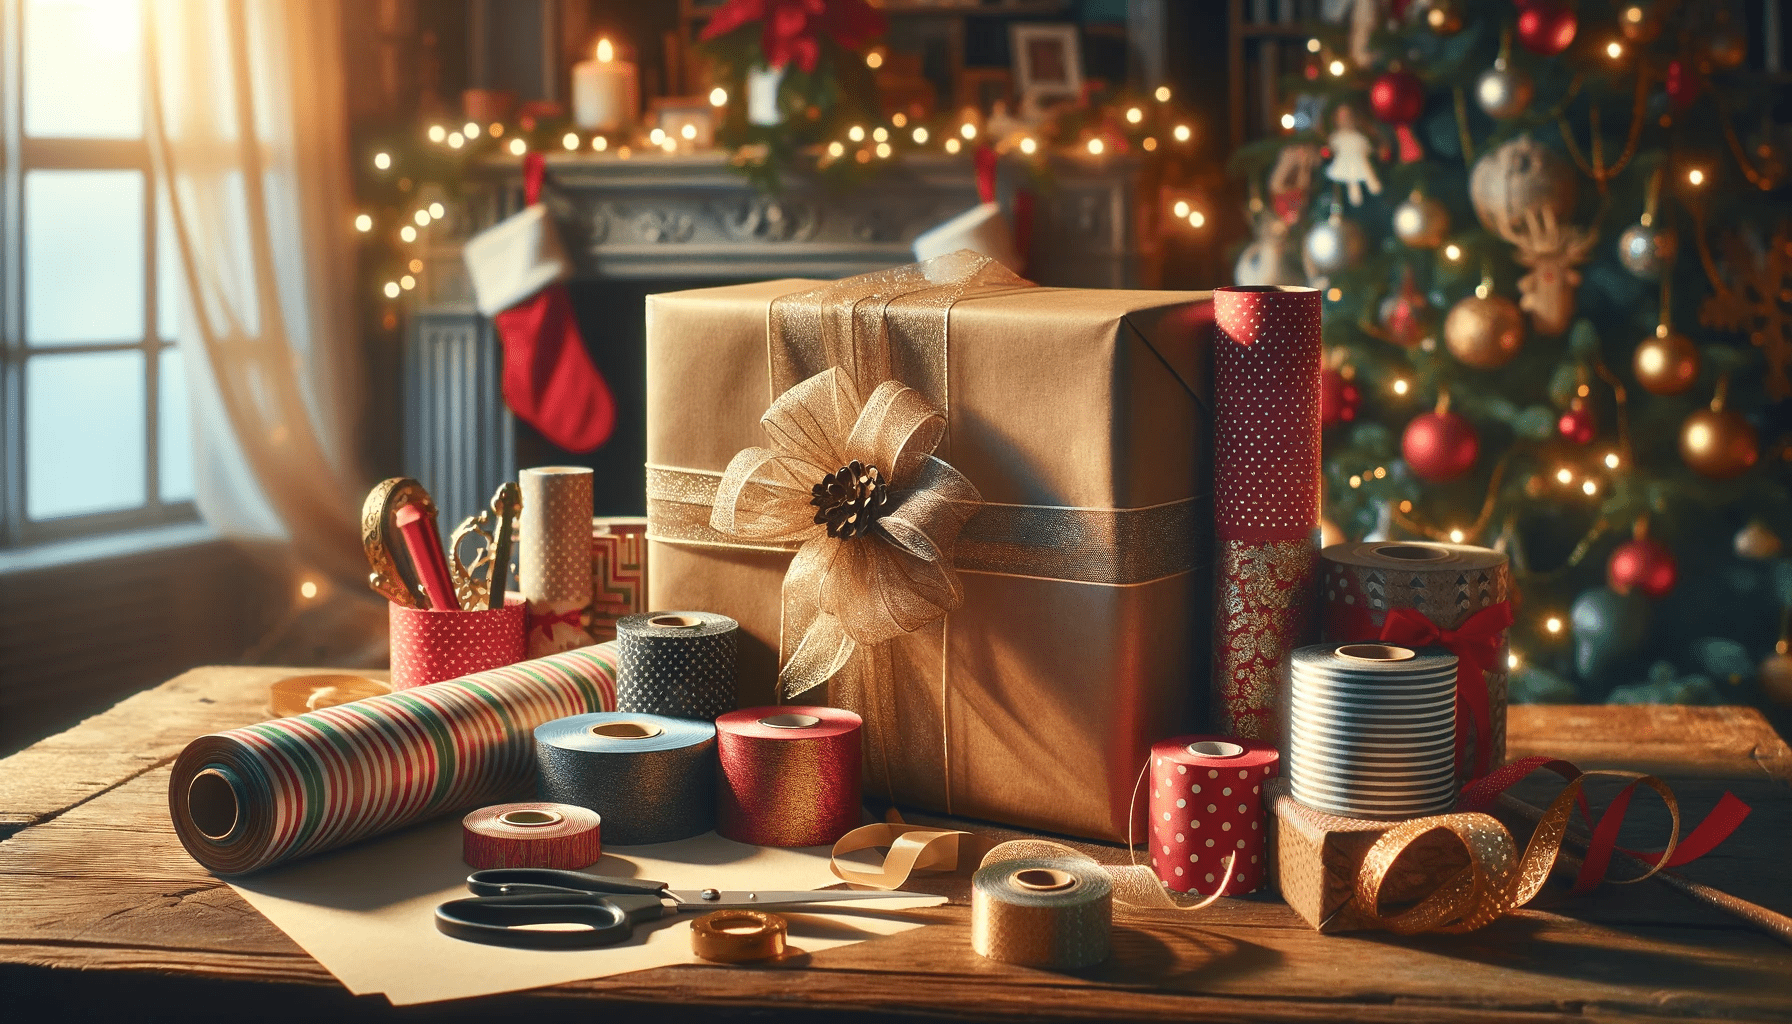
Before we begin, let’s ensure we have all the necessary supplies:
- A gift box or the gift itself
- Wrapping paper
- Scissors
- Clear tape
- Ribbon (optional)
- Gift tag (optional)
Step 2: Measure and Cut the Wrapping Paper
Place the gift box or item in the center of the wrapping paper. Ensure there’s enough paper to cover each side of the gift. If you’re wrapping a box, a good rule of thumb is that the paper should come up to the box’s midpoint when folded over it. Once you’ve measured the paper, cut it with a pair of sharp scissors. Remember, it’s better to overestimate rather than underestimate the amount of paper you need.
Step 3: Fold and Tape
Place the gift face down in the center of the paper. Bring one edge of the paper to the middle of the box, and secure it with a piece of clear tape. Fold the other edge of the paper over the first one, making sure the paper is taut against the box, and tape it down.
Step 4: Deal with the Ends
Now, let’s tackle the ends of the box. Fold the top flap down against the box, creating sharp creases at the edges. Then, fold the side flaps in, creating a point at the bottom. Fold this point up against the box, and secure it with tape. Repeat this process on the other end of the box.
Step 5: Add the Finishing Touches
Time to jazz up your gift! If you’re using a ribbon, cut a length that’s around six times the size of your box. Wrap the ribbon around the box, crossing it at the bottom and bringing the ends back to the top. Tie the ribbon in a bow, and trim any excess. If you’re using a gift tag, attach it to the ribbon or tape it to the top of the gift.
And voila! You’ve just wrapped a present that’s sure to impress. Remember, the key to perfect present wrapping is practice, so don’t be disheartened if your first few attempts don’t turn out as expected. With each gift you wrap, you’re honing your skills and developing your unique wrapping style. So, keep at it, and soon, you’ll be the present wrapping guru among your friends and family!
Tips for Wrapping Oddly Shaped Gifts
Wrapping a box-shaped gift is straightforward, but what about those oddly shaped items? Here are a few tips:
- Use a Box: If the gift is too irregular or soft, place it in a box before wrapping. This will give you a solid shape to work with.
- Go for a Gift Bag: Sometimes, a gift bag is the best option. They come in various sizes and designs, and all you need to do is place the gift inside and top it off with some tissue paper.
- Try Fabric Wrapping: Fabric wrapping, or Furoshiki, is a traditional Japanese wrapping technique that’s perfect for irregular items. Plus, it’s reusable and eco-friendly!
Remember, the goal is to make the unwrapping process enjoyable for the recipient. So, don’t stress too much about achieving the perfect wrap. It’s the thought and effort you put into it that truly counts!
References:
- Martha Stewart Gift-Wrapping Ideas. Link